
How to Do a Backflip (A Complete Back tuck Guide)
Doing a backflip is the best way to show off your flexibility, quickness, and liveliness. Hence, your body will create a full 360-degree rotation during a back tuck. If you are an enthusiast and wish to do a back tuck, then this guide will help you.
Thus, it is a gymnastic move; it will look very inspiring if performed correctly. But if you do not do it correctly, it can be hazardous and cause severe injuries. So, it is crucial to learn the correct way to do it. So let’s move to the steps that will help you in backflipping. And make sure to take the essential safety precautions, like proper progressions, suitable matting, and the use of spotters.
How We Can Do a Back Tuck (Step-By-Step Guide)
We grew up seeing our heroes doing backflips, but it is not easy for us to do it. First, you have to maintain yourself and do not attempt it until you are sure that you can do it. Moreover, there are various skills you must master in gymnastics before attempting a back tuck. But, if you still want to know how to do a back tuck, then let’s explore the steps that will help you try the back tuck.
Part 1: Getting Into Position to Begin your Backflip
First, you have to draw out your muscles before jumping to avoid injuries. After a quick 25-minute cardio warmup, draw out your arms, legs, chest, and back. You can do any stretches as long as they target the right muscle group. Here are some of the draws out for you to try.
- Do an ahead bend to draw out all of your muscles. Stand up straight with your feet concurrently, then curve slowly toward the floor. Get out to feel the ground with your fingers.
- To stretch the arms, carry one arm up over the head, and get toward the sky. Then, curve your arm at your elbow, so it’s parallel to the back of the head. After that, use your other hand to drag your elbow gently. Repeat the process on the other side.
Step 1
Locate a soft surface, like a gymnastics mat. A backflip is an advanced move, so it often takes time to practice it. You have to be on the soft mat to minimize any incident risk. So, we recommend you to use the foam pit as it is the best surface to do a back tuck.
- For your ease, if you do not have a foam pit, you can prefer starting on flat ground that offers some & assist you in building momentum. Although, do not attempt your flip on flat ground if you have a dilemma controlling the width of your jumps.
- If you are a beginner, then do not try to do one on a hard surface, particularly tangible.
- Moreover, if you are having difficulty getting enough height, start from a soft surface like a mat that is not hard and flip into a warm, soft pit.
Step 2
Use a spotter for utmost safety. Since a back tuck is a higher move, it can be unsafe to complete, especially at the beginning. You must have someone there who can see your jump and potentially assist you.
- At the start, ensure someone is with you to call for facilitate if you get hurt. If you drop your balance and fall, probably, you will not be able to get yourself help.
- It can also assist in practicing on a trampoline before attempting a standing back tuck on the floor. This makes it easier to get the height you need to practice the appropriate form of the flip.
Part 2: Mastering the impression to do Backflip
Place your feet shoulder-width to one side and your arms extended overhead. Make sure that you feel constant & balanced up with your core before entering your impression. To maintain your back & neck straight, with your gaze heading ahead.
- If you did not maintain your balance, you would not likely be able to finish your back tuck with good form, enhancing your risk of falling & injuring yourself.
Step 1
Focus on your look at an object in the distance. It will assist you in maintaining your head facing forward in a neutral position. It does not matter what you gaze at or if you can see it in detail. So, you just need to avoid staring at the ground, making you feel unfocused or anxious.
- You mustn’t gaze around as you try to do a back tuck because you can simply lose your balance, which may result in damage.
- Moreover, you should attempt to keep your head steady and not whisk it around to keep it away from injury.
Step 2: Turn the knees for a Backflip
Turn at your knees into a high squat. Sit back as your bend at your knees, and maintain your back straight, your chest should be in line with your knees but pointed up, and your arms should be lifted above your head.
- Do not turn too deeply if you are curving like you would for a normal squat. Note that it does not bend too far forward, which will throw off your stability. You will likely do a back handspring or not carry out your flip despite doing a back tuck.
Step 3
Sway your arms behind you; prevent when they are behind your back. Expand your arms in a straight line, but do not bolt your elbows. Your palms will face a little towards the sky and bend inward toward your body.
- Do not lift your arms high, as this can make your jump go back too much rather than upwards.
Step 4
Take your arms ahead and over your head as you jump upwards. Create a backward arc with your arms to assist yourself backward as you jump high into the air for a backflip. As your arms swing up, move forward through your thighs to jump backward.
- Swinging your arms assist you with the momentum to finish the jump.
- Maintain your arms straight the entire time and do not enable them to go waving about.
- You should be leaping upwards, not backward. Your arm motion will carry you backward., but you will not get enough momentum if you do not jump straight up.
Part 3: Perfecting the Push
So let’s learn how to do the perfect tuck.
- So, In this part, you have to grab your knees toward your chest at the climax of your leap. When you drag your knees, your chest should be about parallel with the sky. This will be the start of your tuck.
- Next, you have to take your knees with your hands to protect your tuck. So take your arms back in toward your legs as you tuck. Moreover, you can grasp the back of your thighs or your knees as your tuck, if you wish.
- Additionally, if you feel yourself turning to the side as you tuck, this is caused by a back reflex. So you probably need to do more training exercises like jumps and stretches.
- After that, you have to maintain your eyes open during the flip so you can see to fix your landing. As your flip, attempt to spot the object in the distance you were gazing at before starting your jump. This can assist you at the time of your landing. When you see the object come into view, you will know that you have completed your back tuck.
- It’s okay if you do not see the object you were gazing at before. You can still fix your landing as you finish your Back tuck.
Part 4: Fix the Landing to Finish the Backflip
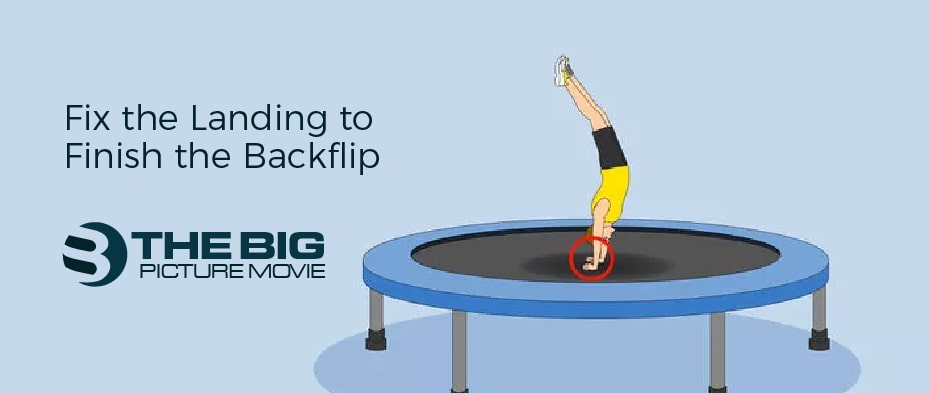
Now you have to widen your legs about 34 of the way during your rotation. Then, let go of your tuck and expand your legs outward. Then, allow them to carry you down toward your landing as you come back to the floor.
- Maintain your knees as you come in for your landing. A slight turn is all you need to ensure you stick your landing correctly. This allows you to absorb some of the landing shocks and secure your body. So do not curve too far down, as you will lose your stability.
- Now, you have to land with your hips under your chest & knees, associated with your ankles. So your body will be in a straight line as your feet strike the floor, away from the slight curve in your knees. This is the proper form that helps you evade injury. Moreover, if your body is out of line, it can put too much damage on your joints, like your ankles or hips.
- After that, take your chest up as you land to assist you in staying balanced. So you will be in a near-standing position when you land, but your chest will probably be skewed forward. Finish the slip by dragging your back straight as you fix your landing.
- Your aim should be to land in the same place you began, but it would also be good if you landed within 1 to 2 feet of your starting spot to complete the flip.
Final Words
Once you successfully practice a backflip on a couch or a trampoline, then your trainer will guide you to start a back tuck on the floor. So the above techniques will help you with backflipping. So follow the above step-by-step guide and start your back tuck with safety precautions to avoid any damage. Let us know about your experience of backflipping in the comment section.
Related Posts

How To Like a Text on Android and iPhone